Hello, I’m Airing — Founder & Developer of 2life Diary. Our WeChat Mini Program won first place at the 2018 C4 WeChat Mini Program Application Development Competition, and the iOS version won first place at the 2018 C4 Mobile Application Innovation Competition. Registered users have now crossed 10,000 and we’re still actively building~
This post is a brief overview of everything our team did throughout the product’s R&D lifecycle. It focuses more on product development methodology and team management than on specific technical implementation.
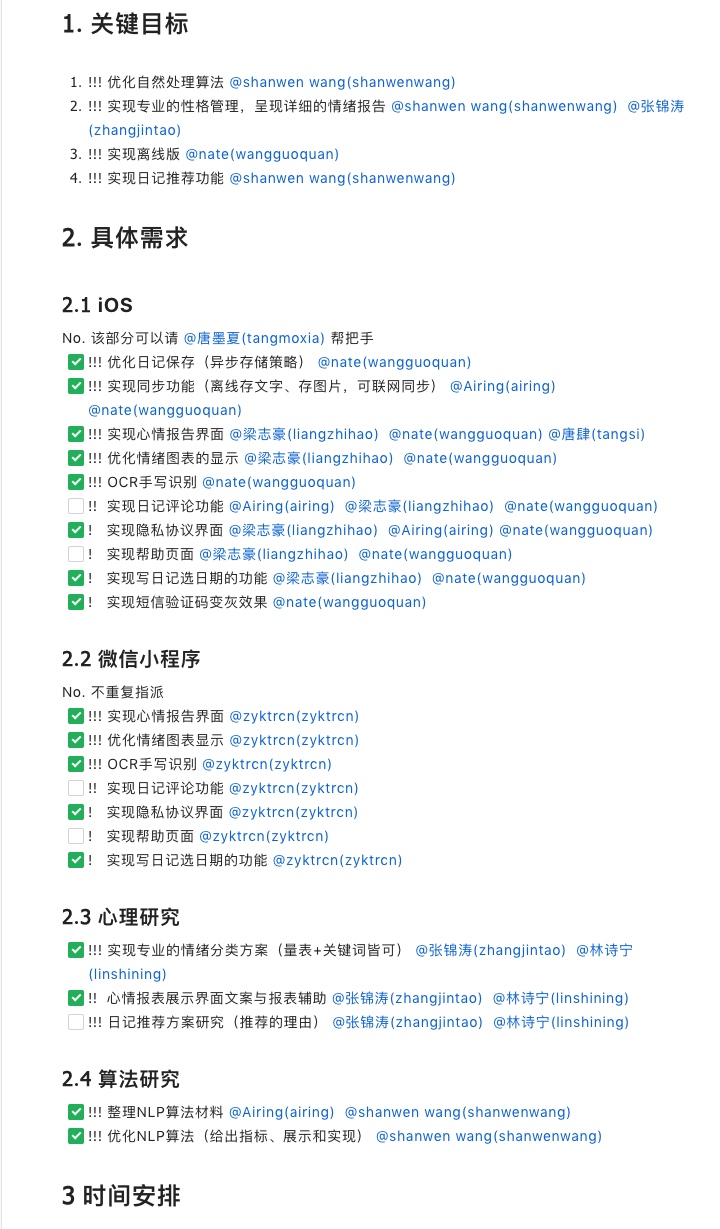
I’ve broken the entire product development process into four stages:
- Project Initiation
- Design
- Development
- Maintenance
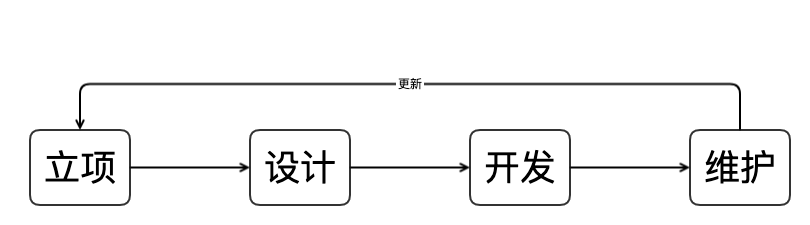
As you can see, these four stages form a closed loop that enables healthy, sustained product growth. Let me walk through each one.
1. Project Initiation
Project initiation is the very beginning of the whole process — and in my view, the most important part. It’s similar to a product manager’s role. I’m the Founder, but product discussions were always a collaborative effort with the team. Concretely, this phase has two components:
- Product brainstorming
- Documentation
1.1 Product Brainstorming
First, I share my idea with the team and create a dedicated discussion space. Our team is a large interest-driven group. Even though only three people were directly involved in building 2life, many more team members contributed their perspectives and suggestions during brainstorming. Below is a screenshot of one of our discussion threads.
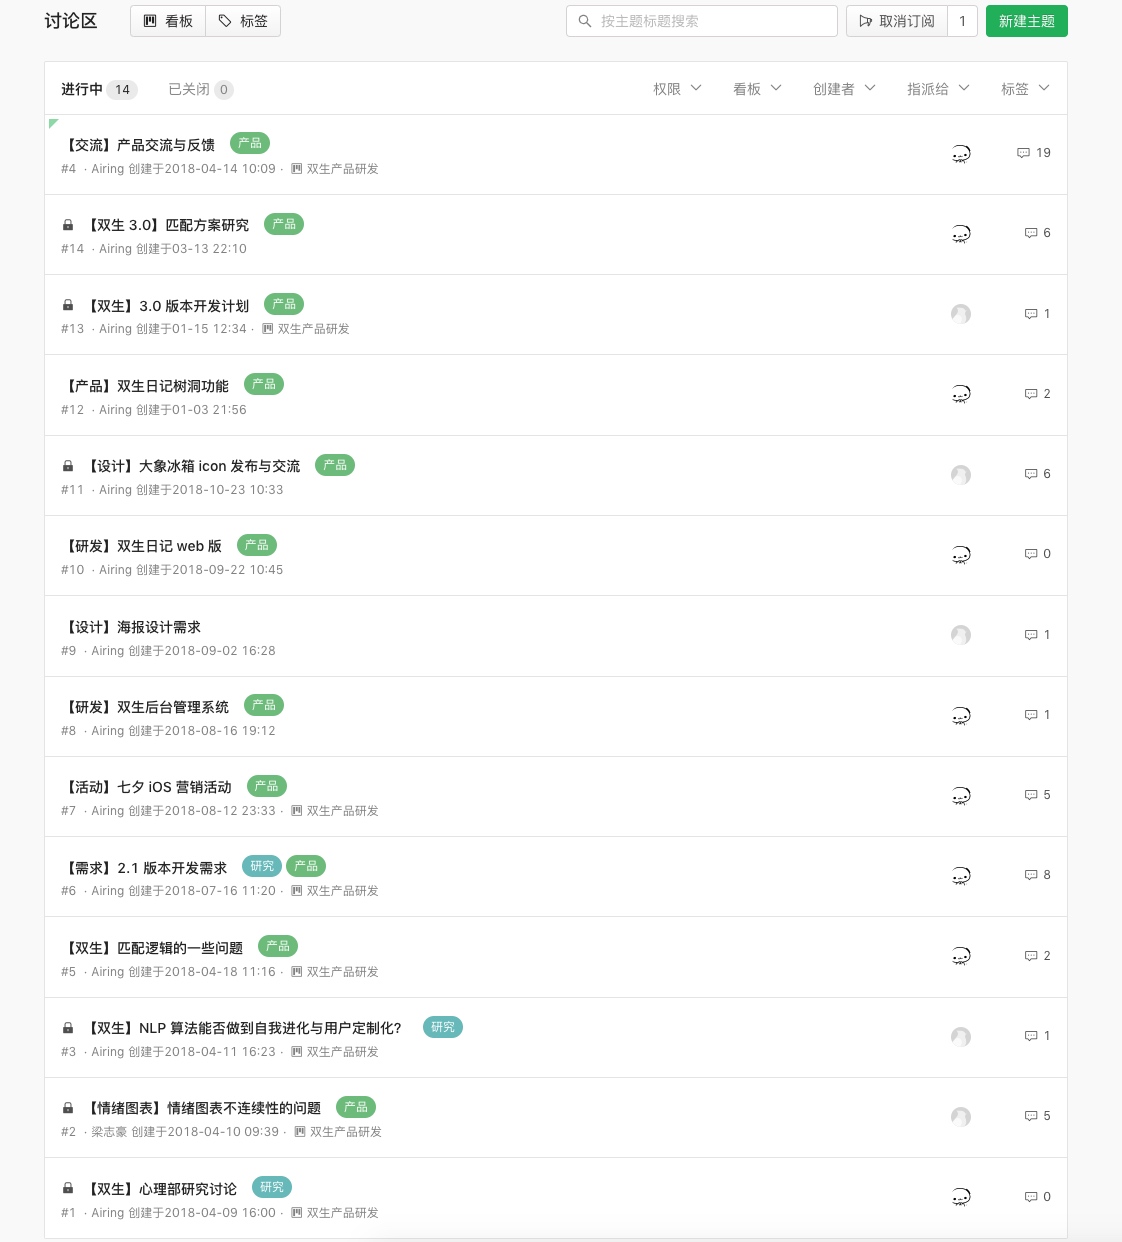
Our team used Yuque for this. The tool itself doesn’t matter — Tencent Docs works just as well — but the important thing is to produce a written record. If you only discuss in a WeChat group or chat casually offline, ideas get lost. That’s extremely inefficient — the conversation might as well not have happened.
1.2 Documentation
Second, consolidate the brainstorming output and write the relevant R&D documents. These include, but are not limited to:
- Requirements document
- Product specification
- Data model document
- API documentation
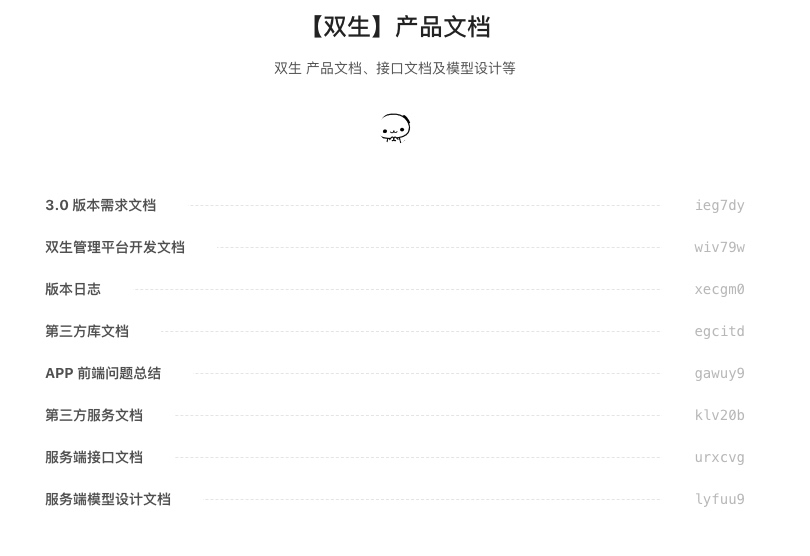
PS. This is our team’s document library, for reference only: Zero Bear | Yuque
2. Design
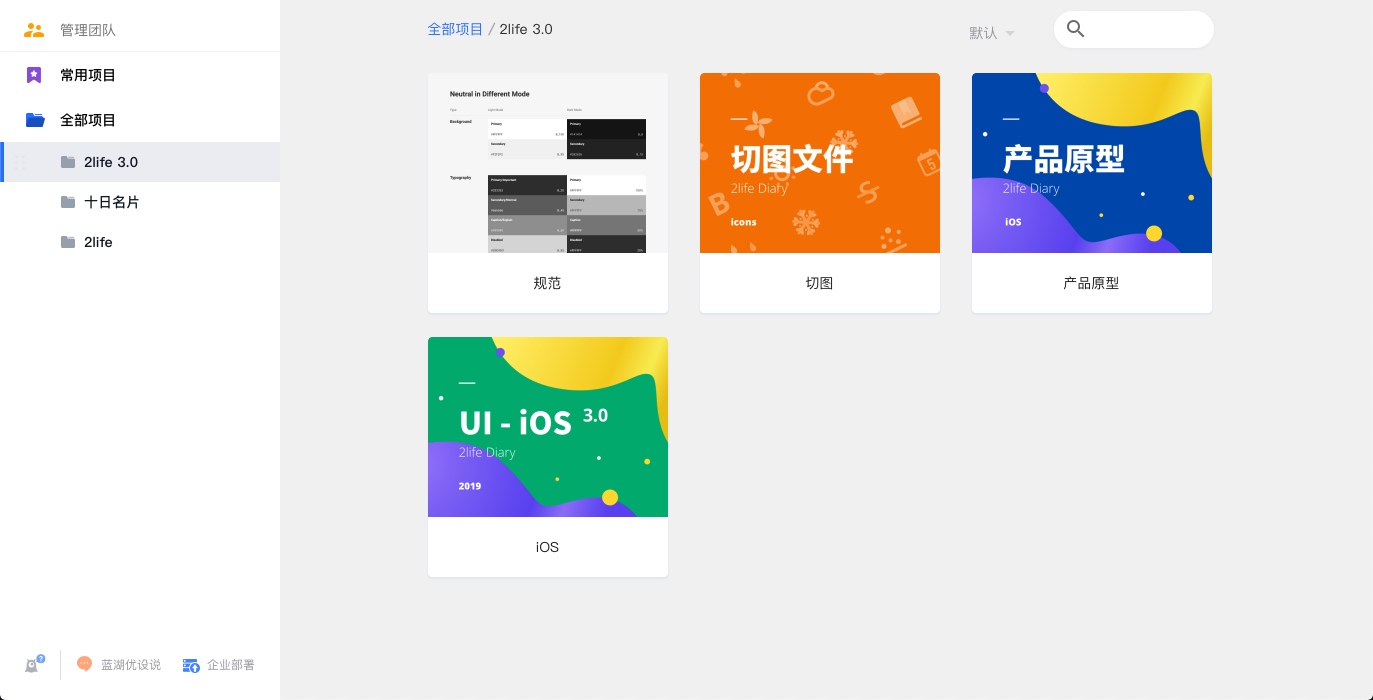
For design tooling, we used Sketch — but we didn’t share the source files directly with the developers, since a proper Sketch license is expensive and Mac-only. Instead we used Lanhu (蓝湖) to hand off designs. We tried Yuque’s canvas feature initially but found it too cumbersome. In Lanhu, design specs can be shared and team members can leave comments.
The design output covers:
- Design guidelines
- Prototypes
- UI designs
- Slice assets
The guidelines focus on color, component, and typography standards. The prototype is mostly about interaction annotations — in our case we annotated interactions directly on top of the UI mockups rather than building interactive prototypes in Flinto. Flinto is more intuitive, but developers don’t always catch everything the designer intends.
3. Development
This section covers the core of the R&D process: actually building the product. There’s a bit more to say here, even if it comes across as scattered. It breaks into three areas:
- Planning and tracking
- Development tooling
- Things worth paying attention to
3.1 Planning and Tracking
Before writing a line of code, I like to make a to-do list that enumerates all the requirements and technical points in the project. It gives me a holistic sense of the landscape and makes it easier to schedule and plan my work. I use Notion for this. I first split the product into 8 major modules, then write a to-do list inside each one — so no single list becomes unwieldy.
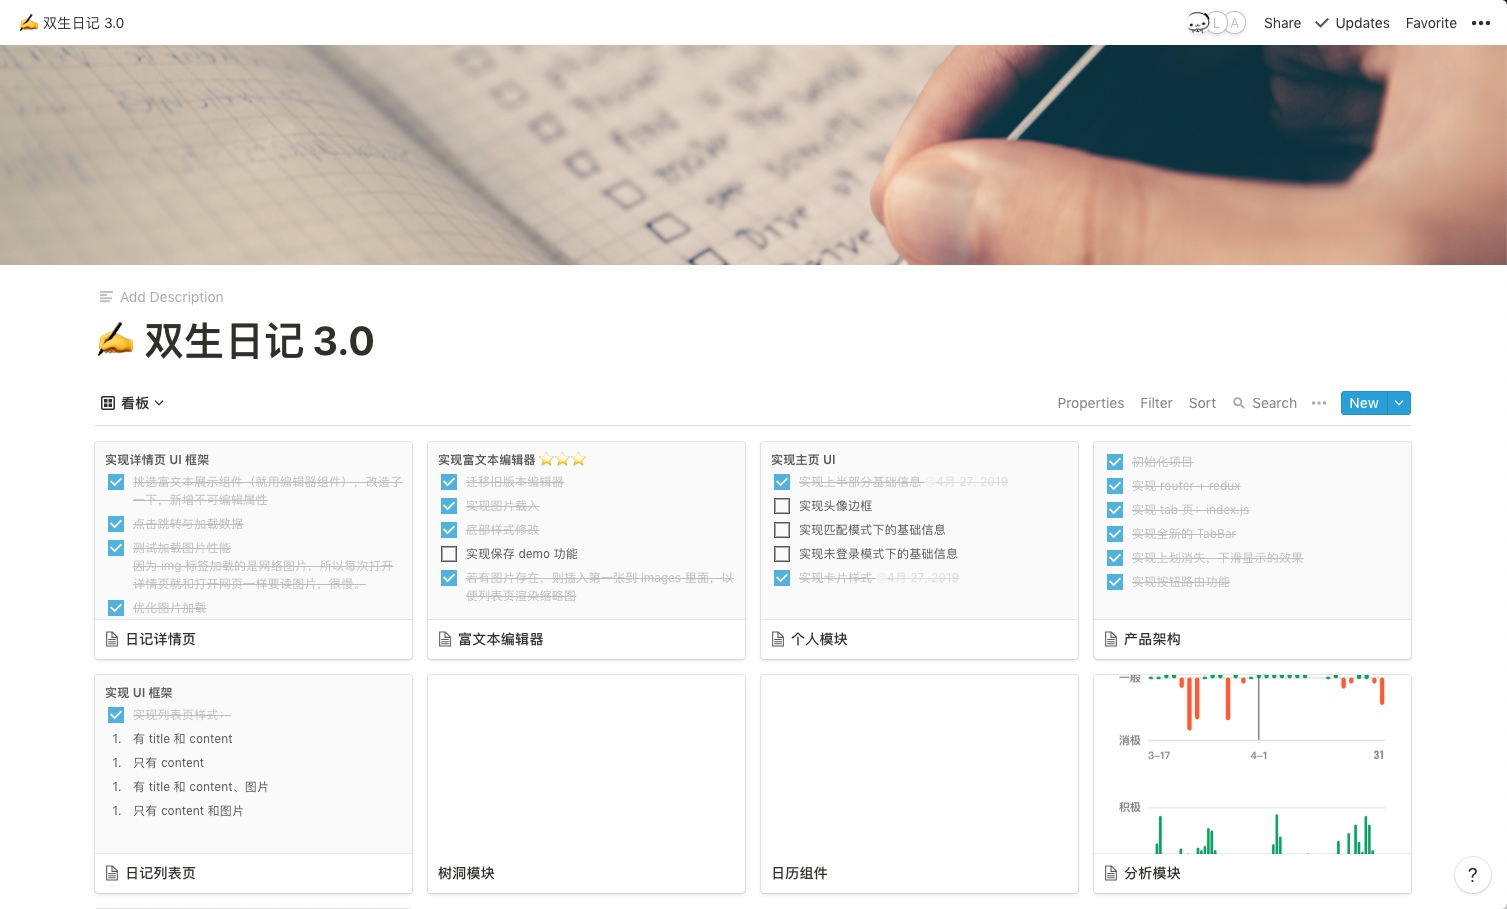

The to-do list isn’t just a task tracker — it serves more as a development diary. I personally like to jot down the hard problems I run into and how I solved them, or note down resources as I use them. I see development as a process of learning and growing, not just delivering business requirements. Jotting things down as you go makes it easy to turn them into blog posts later, or quickly locate the solution when a similar problem appears. Not writing things down means forgetting them. A development diary has a huge impact on how much you actually learn.

3.2 Development Tooling
For WeChat Mini Program development, I’d recommend that developers who are already comfortable with the platform try a workflow of VS Code + extensions + real device testing. That combination is both efficient and accurate. The “efficiency” is VS Code’s own; the “accuracy” is because the simulator sometimes behaves differently from real hardware.
Here’s a look at my own VS Code setup:

I put the file explorer on the right side for two reasons: first, the left side is where people naturally focus, so the editor should go there; second, I can toggle the file explorer anytime with Cmd + B without shifting the editor’s position. If the explorer is on the left, hiding it nudges the editor sideways, which is visually disorienting.
A few extensions I find particularly useful:
- Color Highlight — previews color values inline, great for front-end styling
- TODO Highlight — highlights TODO and FIXME comments
- miniapp — auto-completes Mini Program tags and attributes
- Bracket Pair Colorizer — color-codes matching brackets, incredibly handy
- Image preview — lets you preview images from their URI right inside the code, useful for checking you’ve got the right asset path
- REST Client — HTTP testing, convenient for development, sharing, and mocking
For the theme I use Winter is Coming Theme + Material Icon Theme, though I also think the default dark theme looks great.
3.3 Things to Watch Out For
For collaborative development I’d recommend pairing with Git History and ESLint plugins. ESLint is worth having even when working solo. Our Git commit convention follows the standard: Commit Message Convention.

Don’t forget instrumentation and analytics either. What you track depends on what the project needs to monitor. PV and UV are handled automatically by the Mini Program platform and don’t need custom events, but other metrics usually do — or you can plan your Nginx logs carefully and run analysis on them afterward.
If frontend and backend are developed separately, the frontend team can set up mock.js to build a mock API layer that matches the interface documentation.
4. Maintenance
For user feedback, we run it through an automated filter that files it as GitHub issues, then assign labels and priority to each issue. The main repo is open source here: oh-bear/2life.
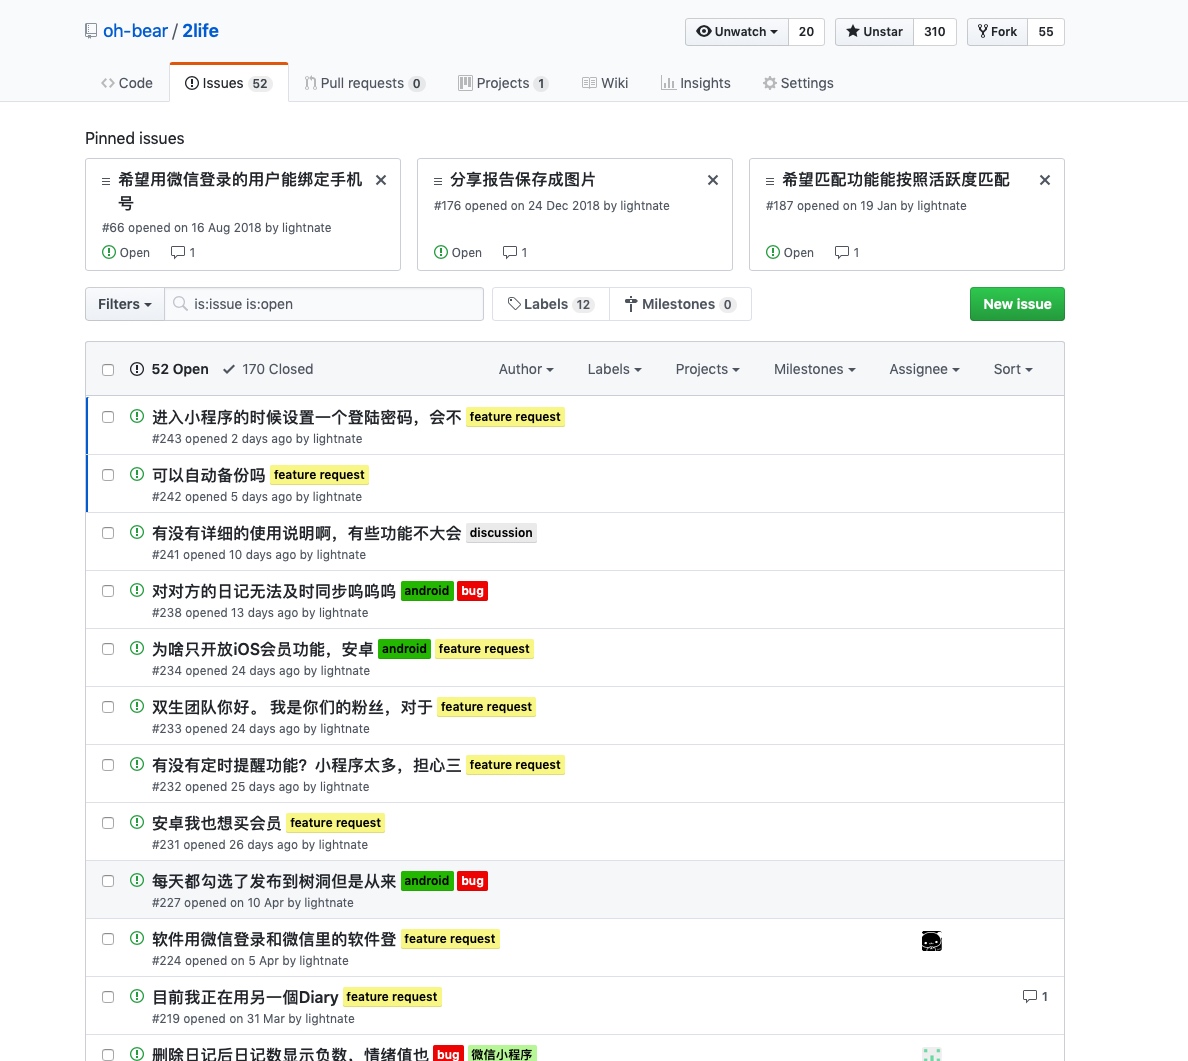
Issues tend to pile up quickly, so we also use GitHub Projects as a task board.

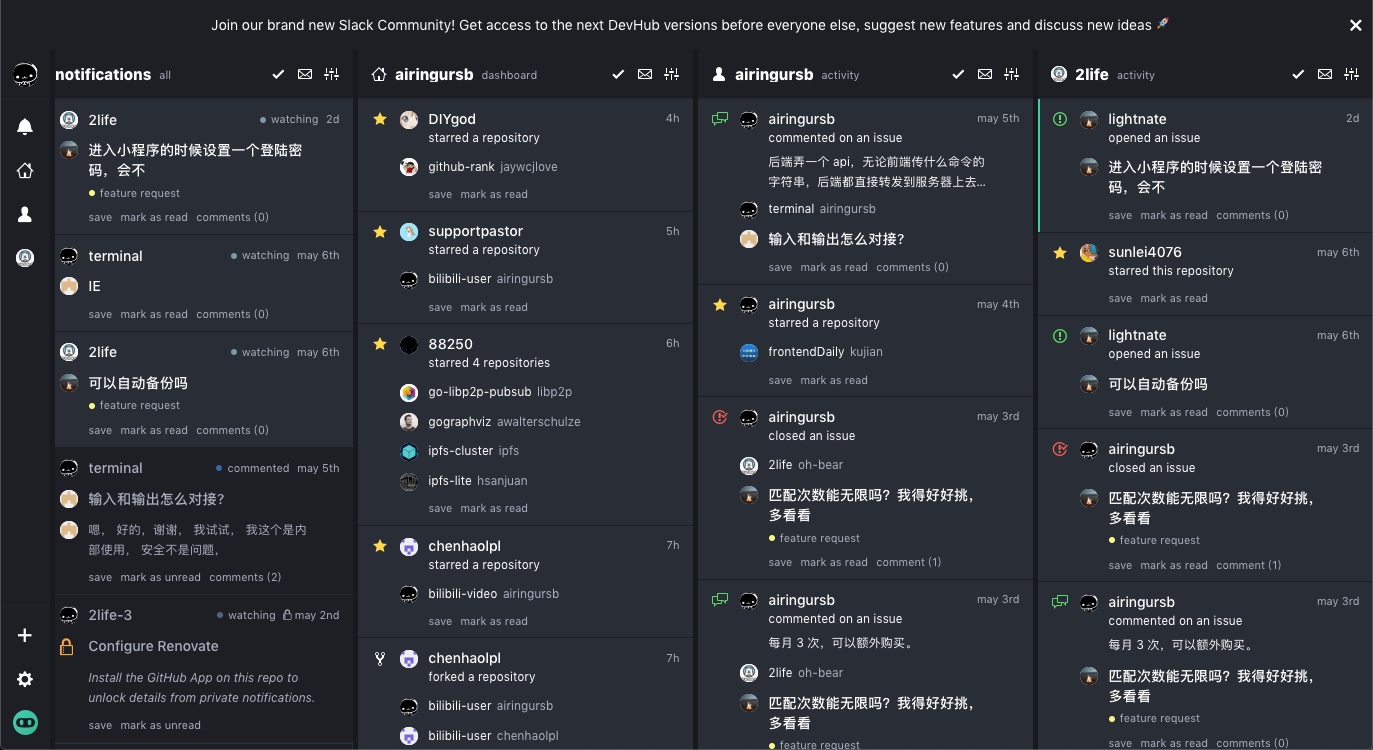
By the way — a small tool worth recommending: Devhub, which makes it easy to monitor issues across projects you’re responsible for.
Based on the accumulated issues, we produce a phased planning document, loop back to the “Project Initiation” phase, and kick off the next minor version.
You’ll notice I never reached for Gantt chart software. Gantt charts are more visual, but I don’t like scheduling tasks so tightly — it creates unconscious pressure. Most importantly, this is a hobby project, not a job, so we just follow our own preferences~
That’s all for today. I’m Airing. My personal blog is at https://ursb.me — feel free to drop by anytime~